LESSON 9: JCLIC (FOURTH & FIFTH DAY)
On today's lesson we started working with JClic. JClic, a very useful app and in this class we used it for creating activities for children. It has three applications: JClic Author, which is the one specific for designing activities and the one we had to use, JClic Player, for students to open and do the activities and finally, JClic Reports, which is used for grading the activities. In order to use JClic Author, we had to search for it in MyApps. We also had to create a new folder for saving these activities in "My Documents: R".
To start the activity on JClic Author, we had to open the application and create a new project. After that, we had to start using the different tools to create different exercises.
Exercise 1: Information screen
With this tool, you create an introductory screen to let people to know what the activity is about or any information you would like to add. You can edit the page with different colors, change the size of the boxes, and add different messages. In order to do it, I followed the next steps:
1. In your project, go to the tab “Activities”
2. Click in "New" icon
3. Choose “Information screen”
4. Write one name for the activity
5. On "Tabs":
a. Click on options, complete all form:
i. Write a description
ii. Choose a skin -> green.xml
iii. Click on "bottoms" -> and activate help and show solution
b. Then on "Window":
i. Choose different colors for the windows
c. On "Messages", write in the three spaces
6. Check the activity
7. Save the project
This is the resul of my activity regarding my group project "Peace Day":
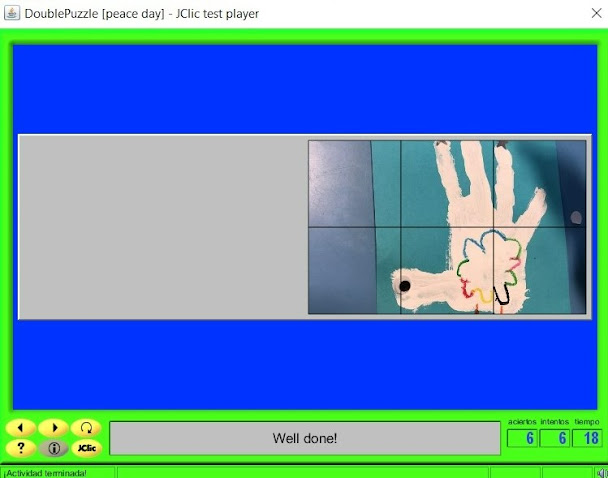
For this activity, we also had to follow our group topic: The Peace Day, like in the previous lessons.This activity allows us to create a puzzle, splitting an image into different equal-sized squares and mix them, so that the students rearrange them. In order to make one, we had to follow the following steps:
1. In your project, go to the tab “Activities
2. Click in "New" icon
3. Choose “Double Puzzle”
4. Write one name for the activity
5. Go to Options and complete and change the settings, background, messages, etc.
6. Go to “Media library”
7. Upload an image
8. Return to “Panel” and click on “Image”
9. Check activity Layout
10. Save the project
Exercise 3: Memory Game
The next activity consisted of a memory game about finding pairs. The objective is to click to reveal the pictures on the squares and match them with the same pair. In order to make one, we had to follow the following steps:
1. In your project, go to the tab “Activities”
2. Click in "New" icon
3. Choose “Finding pairs”
4. Write one name for the activity
5. Go to Options and complete all form and settings
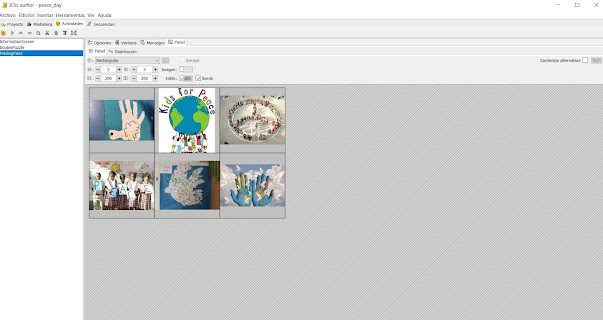
6. Go to “Media Library” and add 6 different images in relation with the Peace Day
7. Change the background options
8. Fill “Mensajes” tab
9. Go to “Panel”:
a. Choose Rectangular; 2 files and 3 rows
b. Then, click on each box and add an image
10. Check activity
11. Save the project
We also had to do a variation of Exercise 3 but it consisted on finding pairs with the same picture
This time, when I went to go to “Panel” in the memory exercise, I selected: Rectangular; 2 files and 3 rows. I then when to to image and select one. Finally I checked the activity and saved the project.
Exercise 5: Exploration
This last activity is meant for students to click on different parts of a picture and identify the different names that can be found. In order to make one, we had to follow the following steps:
1. In your project, go to the tab “Activities”
2. Click in "New" icon
3. Choose “Exploration activity”
4. Upload image in Multimedia
5. Go to Grill A and choose the sections
6. Go to Grill B and write the elements name
7. Go to Relationship “tab” and make the relations between elements in the picture and their names
8. Check the activity
9. Save the project


Comentarios
Publicar un comentario